ArchBang Linux Install Step by Step Guide with Screenshots
ArchBang Linux, as its name suggests, is an Arch-based Linux distribution. It features the light-weight openbox window manager, conky and a simplified installation process. So rejoice for you guys who have difficulty installing Arch Linux! This tutorial will take you step by step through the installation process of ArchBang Linux.
Oh right, let’s get started.
Step 1: Create a ArchBang Live USB or DVD
First we need to download the ISO image file of ArchBang Linux. Go to the official ArchBang Linux download page. Select the ISO file for your OS architecture (i686 or x86_64). It’s only about 600MB and doesn’t take long to download.

Once it’s downloaded, you can create a live USB by following the below detailed guide.
How to Install and use Unetbootin to create Linux live USB
When you finished it, come back here and read on. If you like to create a live DVD, then you can use a free burning software called InfraRecorder on a Windows machine. There are many other free disk burners on Linux like Brasero, K3B and more.
Step 2: Reboot Computer from Live USB/DVD
Now let’s begin the installation. Boot your computer from live USB or live DVD. Select the first entry in the boot menu.

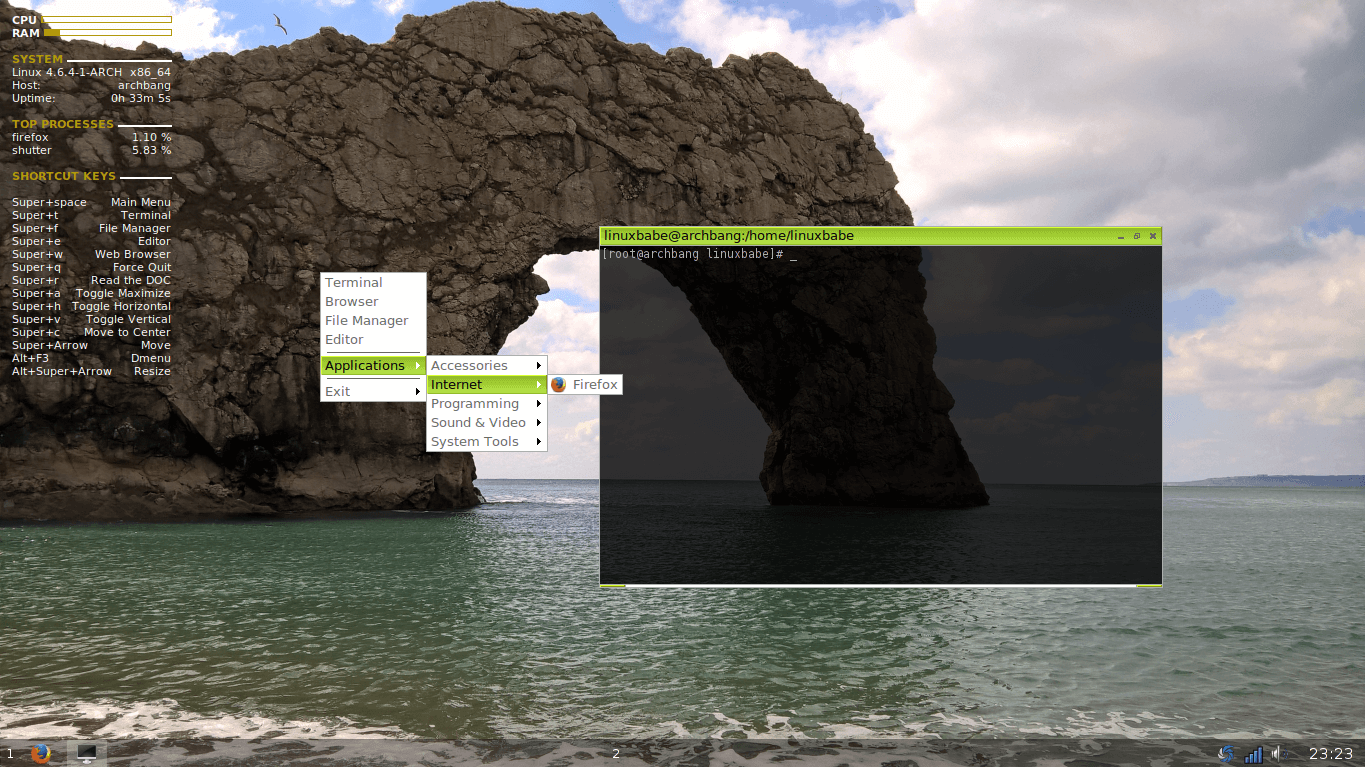
You will be taken directly to the ArchBang desktop.
Step3: Create and Mount partitions
Before we select Install from the context menu, we need to mount root partition to /mnt directory. Right-click on the desktop and select terminal. This tutorial is demonstrated in VirtualBox, so here I will format /dev/sda as a ext4 file system and then mount it to /mnt directory.
sudo mkfs -t ext4 /dev/sda

sudo mount /dev/sda /mnt
If you need to edit partitions in a graphical user interface, then run this command to launch Gparted and edit partitions.
sudo gparted

Normally you want to create separate partitions for root file system, home directory and a swap partition. If your computer is UEFI-enabled, then you also need to create a separate /boot partition.
Once done, close Gparted. Create a /home directory under /mnt.
sudo mkdir /mnt/home
Then mount root partition and home partition to /mnt and /mnt/home respectively.
sudo mount /dev/sda1 /mnt
sudo mount /dev/sda2 /mnt/home
The above command assumes /dev/sda1 is the root partition and /dev/sda2 is your home partition.
Step 4: Let the Installation Begin
Now close terminal and select Install from context menu.

You will be presented with the 10 steps of installing ArchBang.

And of course, we start with the first step. So enter 1 at the prompt. This is a very fast process.


In step 3, you need to select your area and then select the city that represents your time zone. For example, select 2 (America) and then 101 (New York) to set EDT as your time zone.

Enter Y to confirm your time zone.

Step 4 is about setting hardware clock which is also called real time clock (RTC). Two options are using UTC or local time as hardware clock. You can choose either one and don’t worry too much about this setting because hardware clock is unreliable and you shouldn’t trust it.

In step 5, choose your locale. A locale defines what language your system will be using and what date format, monetary format etc. are used. Here I choose 82 (en_US) as my locale.

Then in step 6, choose your desired keyboard layout. This tutorial selects 95 US keyboard.

Step 7 is optional, but normally you would want to configure mirror list in this step. So enter 7 and then press Enter key. The midnight commander file manager will pop up. Navigate to /etc/pacman.d/ directory. Then enter this command to edit mirror list.
sudo nano mirrorlist
By default, all mirrors are comment out. That means no mirror are enabled. To enable a mirror that is close to your area, simply find it in this file and remove the # symbol in front of it.

Once that’s done. Save the file. To exit out of midnight commander, press F10 key.
Step 8 and step 9 is about setting root password, creating a standard user.
In step 10, you can choose Grub2 or syslinux as the boot loader. Grub2 is preferred.

Next, choose automatic.
Once you installed Grub bootloader, press d, then y to reboot your system.

The Grub boot menu reads Arch Linux although it’s really ArchBang. And now you can start using the fresh ArchBang install.

The Final Step
Before you begin installing any packages using pacman, you may need to update your pgp keyring by running the following 3 commands.
sudo pacman-key --init

sudo pacman-key --populate-archlinux

sudo pacman-key --refresh-keys
As always, if you found this post useful, subscribe to our free newsletter or follow us on Google+,Twitter or like our Facebook page.


Step 3. How am I going to mount home if I only have one partition??
the latest archbang live doesn’t have install on menu anymore, fyi: run “sudo abinstall” from terminal, instead.
you’re welcome 🙂
Great tut only thing i found and a complete noobie wouldnt spot is
sudo pacman-key –populate-archlinux #and it should be
sudo pacman-key –populate archlinux #remove – after populate and leave a space
en la parte del gparted falta informacion…
There should be a space between “–populate” and “archlinux” for pacman-key, in case anyone else stumbled on that.
If installing to an eMMC device (ex: mmcblk# where ‘#’ is a digit) you must edit the abinstall file located at \home\ablive\AB_Scripts once booted onto the ISO. The edit is temporary and won’t save on reboot.
The path in the ISO when accessed externally is \arch\x86_64\airootfs.sfs\home\ablive\AB_Scripts\ but you won’t be able to edit at all without actually re-creating the ISO (read-only).
The specific place is below on the “devices_list” line. Add “mmc\|” as I added it below…it’s not there when you first see it.
The presence of that allows creating partitions and installation on your eMMC device.
(Now if I can just get GRUB2 to install (Could not prepare Boot variable: No space left on device) hahaha!)
#SELECT DEVICE {{{
select_device(){
devices_list=(`lsblk -d | awk ‘{print “/dev/” $1}’ | grep ‘mmc\|nvme\|sd\|hd\|vd’`);
PS3=”$prompt1″
echo -e “Select partition:\n”
select device in “${devices_list[@]}”; do
if contains_element “${device}” “${devices_list[@]}”; then
break
else
invalid_option
fi
done
BOOT_MNT=$device
}