2 Ways to Upgrade Ubuntu 18.04/18.10 To Ubuntu 19.04 (GUI & Terminal)
Ubuntu 19.04, codenamed Disco Dingo, will be released on April 18, 2019. This tutorial is going to you 2 ways to upgrade Ubuntu 18.04 and Ubuntu 18.10 to 19.04. The first method uses the graphical update manger and the second method uses command line. Usually you use the graphical update manager to upgrade Ubuntu desktop and use command line to upgrade Ubuntu server, but the command-line method works for desktops too.
Ubuntu 18.04 is a long term support (LTS) release, which will be supported for 5 years. Ubuntu 19.04 is a non-LTS release, which means it will be supported for 9 months only, until January 2020. If you prefer stability over bleeding edge, then stick with Ubuntu 18.04. But if you are the other way around, you can follow this tutorial to upgrade from Ubuntu 18.04 to 19.04.
Ubuntu 18.10 will reach end of life this July, so I recommend 18.10 users upgrade to Ubuntu 19.04 ASAP.
Note: Before doing the upgrade, you can use the systemback program to create a bootable ISO image from your current OS. If the upgrade fails, you can easily restore your OS with the bootable ISO. Everything on your OS including software and files will be intact. If you are using a laptop, please connect your power source.
Upgrade Ubuntu 18.04, Ubuntu 18.10 to Ubuntu 19.04 with the Graphical Update Manager
First of all, open software updater (aka update manager) from your application menu. It will update software package information. If there’s updates available, click the Install Now button and enter your password to install updates.

If a new version of Linux kernel is installed, then the update manager will tell you to restart your computer. Click Restart Now.

Then open Software & Updates from your application menu.

Select the Updates tab. At the bottom of window, change notification settings from For long-term support version to For any new version. You will be asked to enter your password for the change to take effect.

Close the Software & Updates window. Next, open up a terminal window and issue the following command in terminal.
update-manager
You will be notified that software is up-to-date and Ubuntu 19.04 is now available. Click the Upgrade button.

Then enter your password. The release notes window appears. Click Upgrade. The distribution upgrade window will open up. If you are notified that some third-party sources are disabled, accept it. You can re-enable them after the upgrade is finished.

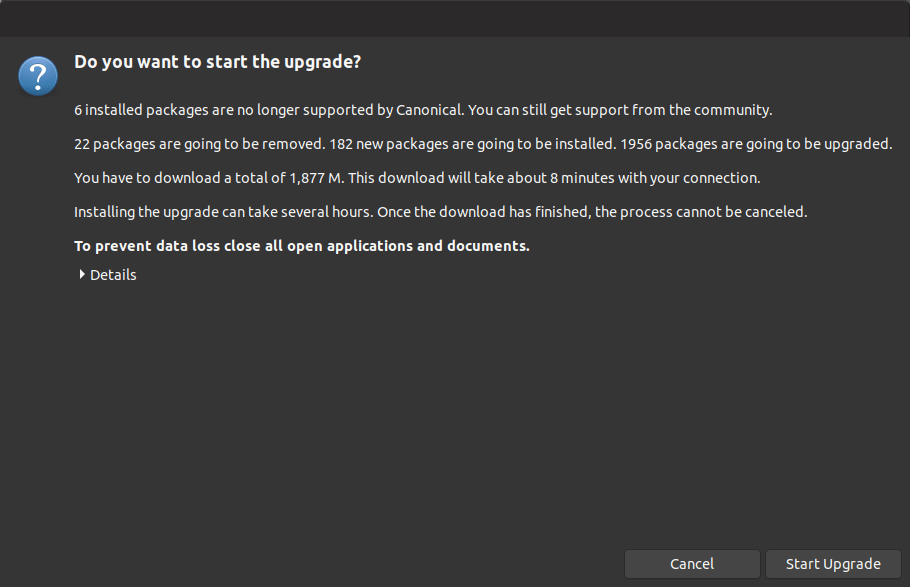
In a few moments, you will be asked if you want to start the upgrade. Click the Start Upgrade button.
Wait for the upgrade process to finish. The update manager may ask you if you want to restart services during packages upgrade without asking. Tick it on and click Next button.

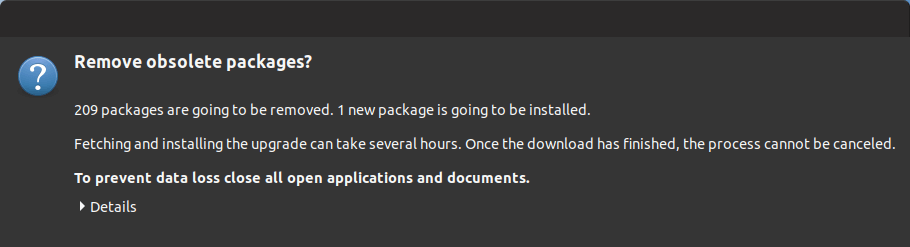
After new versions of packages are installed, the update manager may ask you if you want to remove obsolete packages. I always select Remove.
Obsolete packages are software packages whose name can’t be found in the software repository of the new Ubuntu release. The cause of obsolete packages are the following:
- The upstream developer stop maintaining this package and there are no other person willing to take over. So the Ubuntu package maintainer decides to drop this package from the Ubuntu repository.
- The package become a orphan package, which means there’s no other package that depends on it and there is very few users of this package. So the Ubuntu package maintainer decides to drop this package from the Ubuntu repository.
- The package has a new name in the software repository of the new Ubuntu release.
After obsolete packages is removed from your system. Restart your computer and check your Ubuntu version with the following command.
lsb_release -a
Output:
No LSB modules are available.
Distributor ID:	Ubuntu
Description:	Ubuntu 19.04
Release:	19.04
Codename:	Disco
Upgrade Ubuntu 18.04/18.10 to Ubuntu 19.04 Using Command Line
You can use command line to upgrade Ubuntu desktop or a headless server. If you use SSH to log into your Ubuntu server, it’s a good idea to keep your OpenSSH session alive by adding the following line in /etc/ssh/sshd_configfile on your server.
ClientAliveInterval 60
Save and close the file. Then restart SSH daemon.
sudo systemctl restart ssh
To upgrade to Ubuntu 19.04, run the following command to upgrade existing software. (Please note that if a new kernel is installed while running the following command, you need to reboot system in order to continue the upgrade process.)
sudo apt update && sudo apt dist-upgrade
Then make sure you have update-manager-core package installed.
sudo apt install update-manager-core
Next, edit a configuration file using nano or your preferred command line text editor.
sudo nano /etc/update-manager/release-upgrades
At the bottom of this file, change the value of Prompt from lts to normal.
Prompt=normal

To save a file in Nano text editor, press Ctrl+O, then press Enter to confirm. To exit, press Ctrl+X. After that, run the following command to begin the upgrade process.
do-release-upgrade
If you are running Ubuntu 18.10, then follow the on-screen instruction to upgrade to Ubuntu 19.04. If you are running Ubuntu 18.04, then follow the on-screen instruction to upgrade to Ubuntu 18.10 first and then follow the same steps to upgrade to Ubuntu 19.04
Once the upgrade is finished, reboot your Ubuntu desktop or server. To check your Ubuntu version, run:
lsb_release -a
Output:
No LSB modules are available.
Distributor ID:	Ubuntu
Description:	Ubuntu 19.04
Release:	19.04
Codename:	disco
Should You Use the -d Option?
The update-manager and do-release-upgrade command come with a -d option, which will cause the system to upgrade to a development release.
Currently, Ubuntu 19.04 is still considered a development release in Ubuntu release cadence, because development of Ubuntu 19.10 isn’t started yet. It will happen one week after the release of Ubuntu 19.04 and we can use the -d option before that happens. When Ubuntu 19.10 enters development, you should not use the -d option.
Conclusion
I hope this tutorial helped you upgrade Ubuntu 18.04 or Ubuntu 18.10 to Ubuntu 19.04 As always, if you found this post useful, then subscribe to our free newsletter to get new tips and tricks 🙂


Nicht für Xubuntu zu gebrauchen
How to change values in terminal? LTS to normal?
Use the arrow keys to move up and down, left and right. Use the backspace key to delete text.
Use Vi editor. https://www.informit.com/articles/article.aspx?p=1670957&seqNum=3
Thanks, worked perfectly
Hello,
I have installed linux using this method (https://github.com/dnschneid/crouton/wiki/3-Steps-to-Install-Bionic-Beaver) and tried following your example to upgrade to ubuntu 19.04 but can’t seem to get it to work. I usually get this error. (dbus[4360]: Unknown username “whoopsie” in message bus configuration file)
the funny thing is, I actually went through the same steps before and had it working great. Now I just can’t get past this point. What am I missing?
Command Line way recommended. In the visual way I has a broken installation. I was forced to install Ubuntu from scratch. I have a Cloud Backup, but needed to allocate some extra time for the process.